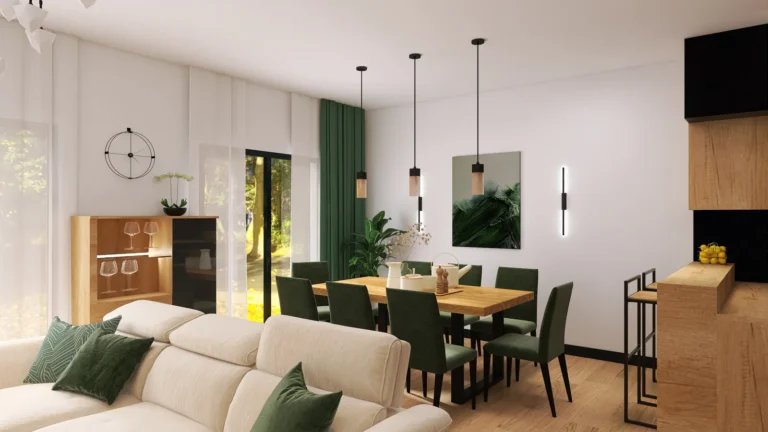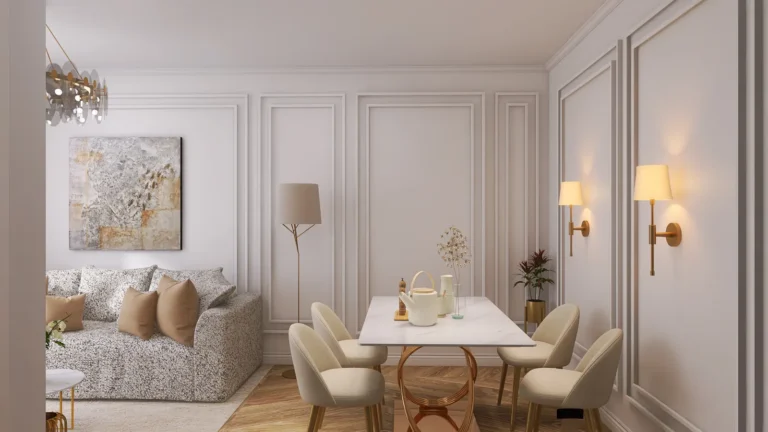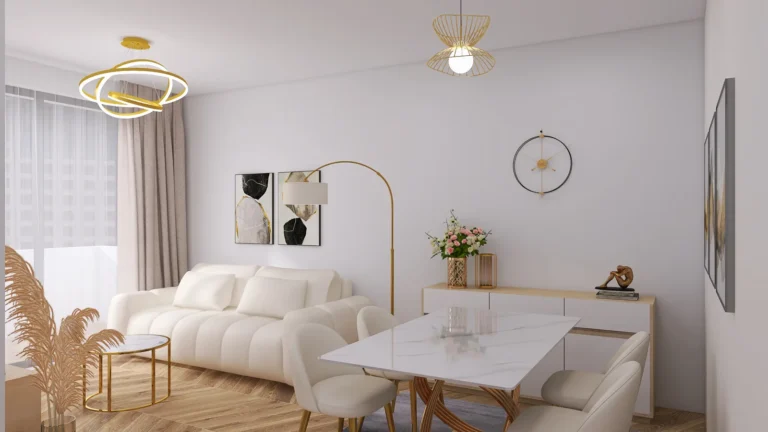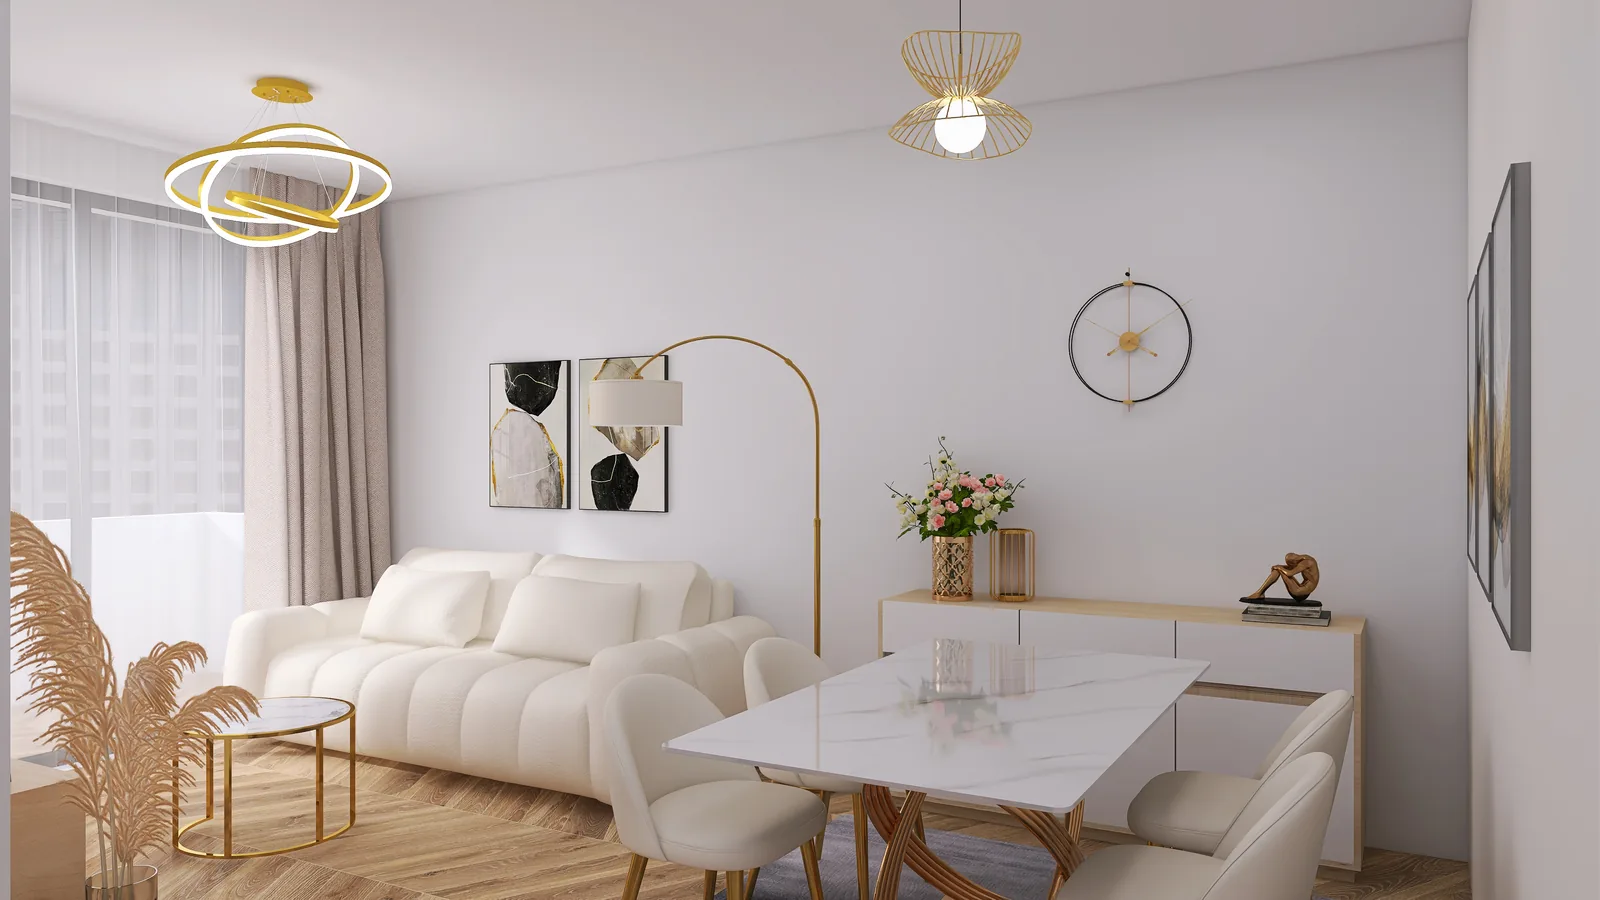
“I want a bright, cosy, modern living room.” To a visualizer, that is not a task yet — it is dozens of possible interiors. For one client, cosy means oak, linen and warm light. For another, it means deep colours, a velvet sofa and a wall of bookshelves.
An interior visualization brief removes that ambiguity. It is a short, structured document that sets out the goal, the source materials, the constraints and the expected result. You don't need to know style names or read technical drawings. You only need to explain clearly what you want and which details matter.
A good brief means fewer revision rounds, faster delivery and a predictable result. Below are seven steps, the most common mistakes and a ready-to-use template.
What a brief is and why the result depends on it
A brief is the specification for your visualization, written in plain language. It does three jobs:
1. Define the purpose of the visualization
The purpose determines the camera angles, the level of detail and the tool: classic 3D or AI.
Instead of a generic “I need a bedroom visualization”, write:
One sentence makes it clear which decision is being tested and what is no longer up for discussion.
2. Provide a floor plan with dimensions
In 3D interior visualization, geometry is the foundation. A beautiful image proves nothing if the sofa only fits because the room accidentally became wider.
Ideally, share:
If you don't have a measured plan, a hand sketch with dimensions is enough for a first conversation. Mark approximate values with “≈”. A full interior design project with plans, wall elevations and specifications is the best basis: the visualization simply brings decisions already made to life.
3. Photograph the room as it is now
Photos complement the plan and show what a drawing can't: light, textures and the view from the window.
In AI interior visualization, one specific photo becomes the base of the image. It sets the camera angle, so choose the main shot deliberately and define the limits of change straight away:
4. Add references — with comments
Interior design references show your preferences faster than words. To start, 3–5 examples with a short note on each are enough:
Without comments, the visualizer may read a photo as a reference for the whole interior when you only liked the lamp. If you have already chosen a colour, give its NCS or RAL code or the manufacturer's paint name.
Also add a “no list”: high-gloss fronts, cold light, open shelving, too much decor. It is often more useful than ten pretty pictures.
5. Separate fixed decisions from flexible ones
Every project has elements that are already decided and others you can experiment with.
Important: an AI image does not confirm that furniture physically fits in the room. That requires exact measurements and a layout check on the plan or in a 3D model.
6. State a budget if furniture still needs choosing
If the visualizer will also help you choose furniture and materials, give an approximate budget and the stores you are willing to buy from:
This keeps the concept close to what you can actually build, not just a magazine picture. Agree on product selection and a shopping list separately: they are not always part of a visualization service.
7. Agree on the final deliverables
Before work starts, define exactly what you will receive:
“Show the whole room” can mean one wide shot or a series of four images. It is better to settle this at the start than during revisions.
AI or 3D: how the brief shapes the choice of tool
The materials you collect often point to the right format on their own.
More about both formats: 3D Visualizations and AI Design.
Common brief mistakes
Interior visualization brief template
Copy this list and fill it in before you get in touch:
What if you don't know what you want yet?
You can say so honestly in the brief: “I can't decide between light minimalism and a warmer interior with wood.” In that case, we first agree on a visual direction — palette, materials and example furniture — and only then move on to final images. Developing several concepts is agreed separately.
Frequently asked questions
Can I order a visualization without a floor plan?
For AI visualization, a good photo is usually enough. For 3D visualization you need dimensions — at least a hand sketch with the main measurements.
How many references should I send?
3–5 images with a note on what exactly you like. A large collection without explanations tends to get in the way more than it helps.
Will the visualization show whether my sofa fits?
Only a 3D visualization built from exact room and furniture dimensions can show that. An AI image shows mood and combinations, not scale.
What if the task changes during the project?
Update the brief and agree on the changes before the next stage. A refinement within the brief is a revision; a new room or a new style is a new task.
Conclusion
A good brief doesn't require you to become a designer. It communicates what matters most: how you want to use the space, what is important to you and which decision the visualization should help you make.
Planning a visualization with Fortelina? Send a floor plan or photos of the room and briefly describe your idea via the contact page. I'll help you refine the brief and choose the right format: AI visualization or 3D.